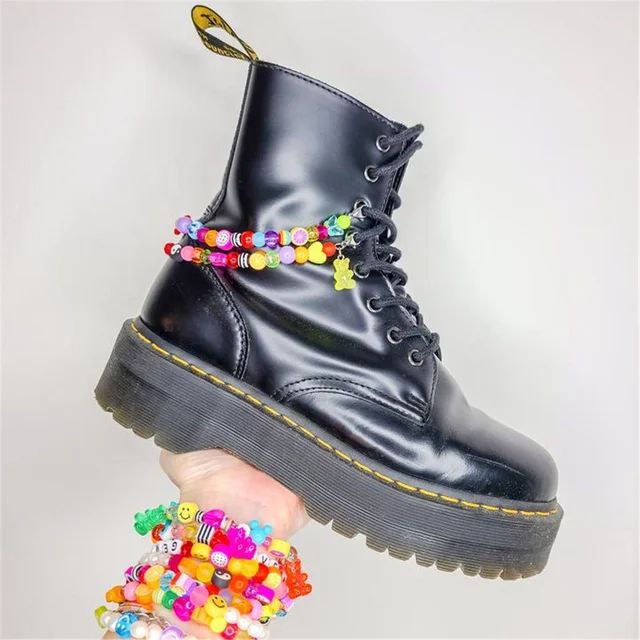
Clay bead bracelets are a charming and unique way to express your personal style and creativity. Made from clay beads, these bracelets are not only visually appealing, but also provide an opportunity for personal expression.
Tying clay bead bracelets can be a fun and rewarding DIY project, whether you want to make them for yourself or as thoughtful gifts for loved ones.
In this step-by-step guide, we'll walk you through the process of creating your own clay bead bracelets.
Materials you will need:
Clay beads: You can buy our complete kit of clay beads in different colors, shapes and accessories needed for bracelet making in our online store.
Stretch cord or elastic thread: This will serve as the basis for your bracelet. Make sure it is durable and strong, but flexible enough to stretch.
Scissors: For cutting cord/thread.
Beading needle (optional): Useful for threading the cord into smaller beads.
Clasp (optional): If you prefer a bracelet with a clasp for easy wearing and removal.
Ruler or tape measure: To determine the desired length of the bracelet.
Step by step instructions:
Measure your wrist: Start by measuring your wrist to determine your desired bracelet length. Keep in mind that you will need to add a little extra length to tie the knots, usually about 1 to 2 inches. This extra length will allow the bracelet to fit comfortably.
Cut the cord: Cut a piece of stretch cord or elastic thread to the length you are measuring. It's a good idea to start with a slightly longer piece and cut it if necessary.
Prepare the beads: Arrange your clay beads in the desired pattern or sequence. This step allows you to plan the design of your bracelet.
Start threading beads: If you are using a beading needle, thread the bead through the eye of the needle, which will make it easier to thread the beads. Start by inserting the cord into the first bead, then continue adding beads until you reach the desired bracelet length.
Tie the first knot: After threading the beads, tie a simple knot at the end of the cord to hold them in place. Pull it tightly, but be careful not to overtighten it, as this may break or deform the cord.
(The Girls Creativity tip: Tape the first knot to your work surface so as not to drop your first beads)
String the remaining beads: Continue adding beads until you have reached your desired bracelet length. Make sure you leave enough cord to tie a final knot.
Tie the final knot: After stringing all your beads, tie a secure double knot to complete the bracelet. Make sure the knot is tight, but not so tight that it causes the cord to break.
Cut excess cord: Carefully cut off any excess cord near the knot, leaving a neat finish.
Optional Clasp: If you prefer a bracelet with a clasp, you can attach one following the manufacturer's instructions. This step makes it easy to put on and take off the bracelet.
Adjust the beads: If necessary, adjust the placement of the beads to ensure they are evenly distributed and sit comfortably on your wrist.
Conclusion
Tying clay bead bracelets is an enjoyable and creative activity, and it allows you to personalize your accessories to suit your style.
With just a few materials and a little patience, you can create unique and eye-catching clay bead bracelets that make perfect gifts or additions to your own jewelry collection. So, gather your materials, unleash your creativity, and start making your one-of-a-kind clay bead bracelets with Girls Creativity today!


Leave a comment
This site is protected by hCaptcha and the hCaptcha Privacy Policy and Terms of Service apply.